No products in the basket.
Electric Underfloor Heating Experts
Need Help & Advice? +44 (0)1803 316060 sales@livingheat.co.uk
Basket
Did you know we also do?
Heating Accessories
See all Heating Accessories 
Quick Deliveries
Competitively Priced
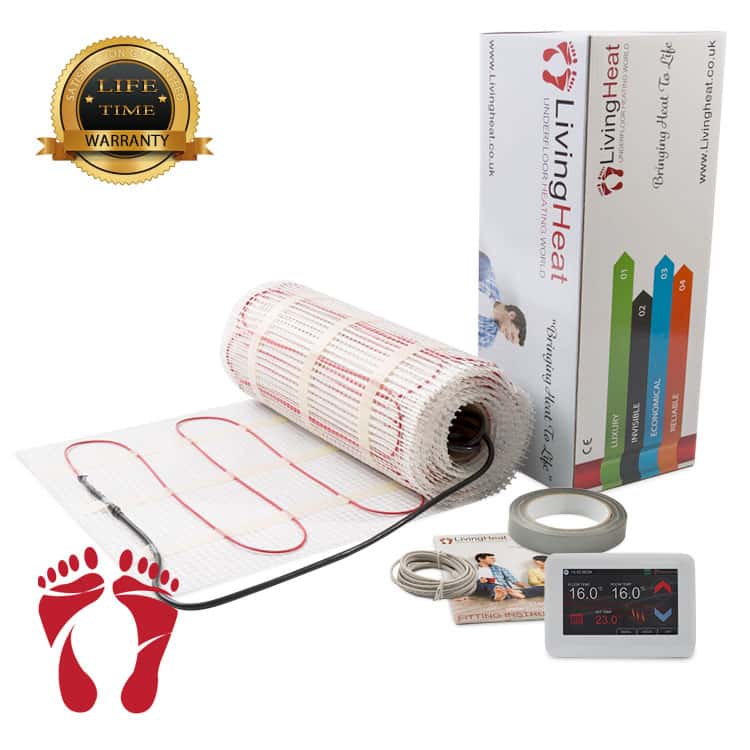
Lifetime Warranty
Click & Collect
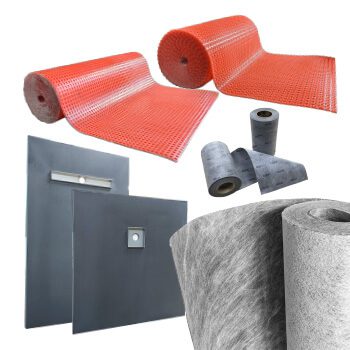
Decoupling
- Self-Adhesive Anti-Fracture Decoupling Mat
- Self-Adhesive Anti-Fracture Decoupling Mat For Loose Cable
- Showerliner - Wall Tanking
- Anti Fracture Decoupling Mat SF
- SP Decoupling Matting
- Loose Cable Decoupling Mat HC
- Waterproof Tanking Corner - External / Self-Adhesive
- Waterproof Tanking Corner - Internal / Self-Adhesive
- Waterproof Tanking Corner - External
- Waterproof Tanking Corner - Internal
Wetroom Accessories
Quick Deliveries
Competitively Priced
Lifetime Warranty
Click & Collect
Manual Thermostats
Digital Thermostats
Wi-Fi Thermostats
Quick Deliveries
Competitively Priced
Lifetime Warranty
Click & Collect
Quick Deliveries
Competitively Priced
Lifetime Warranty
Click & Collect
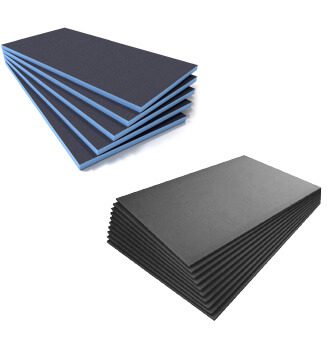
Don't Forget Your Insulation Boards
See all Insulations 
Quick Deliveries
Competitively Priced
Lifetime Warranty
Click & Collect
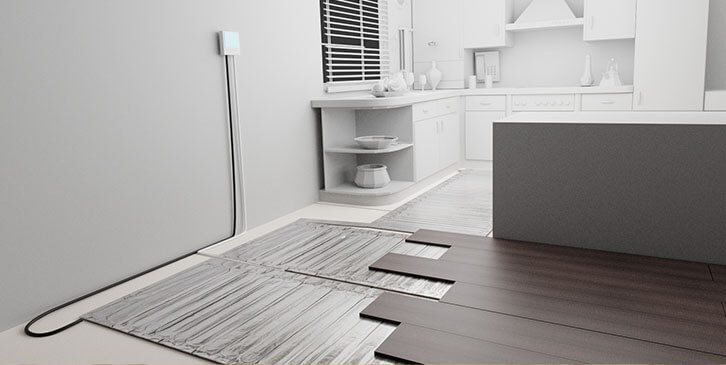
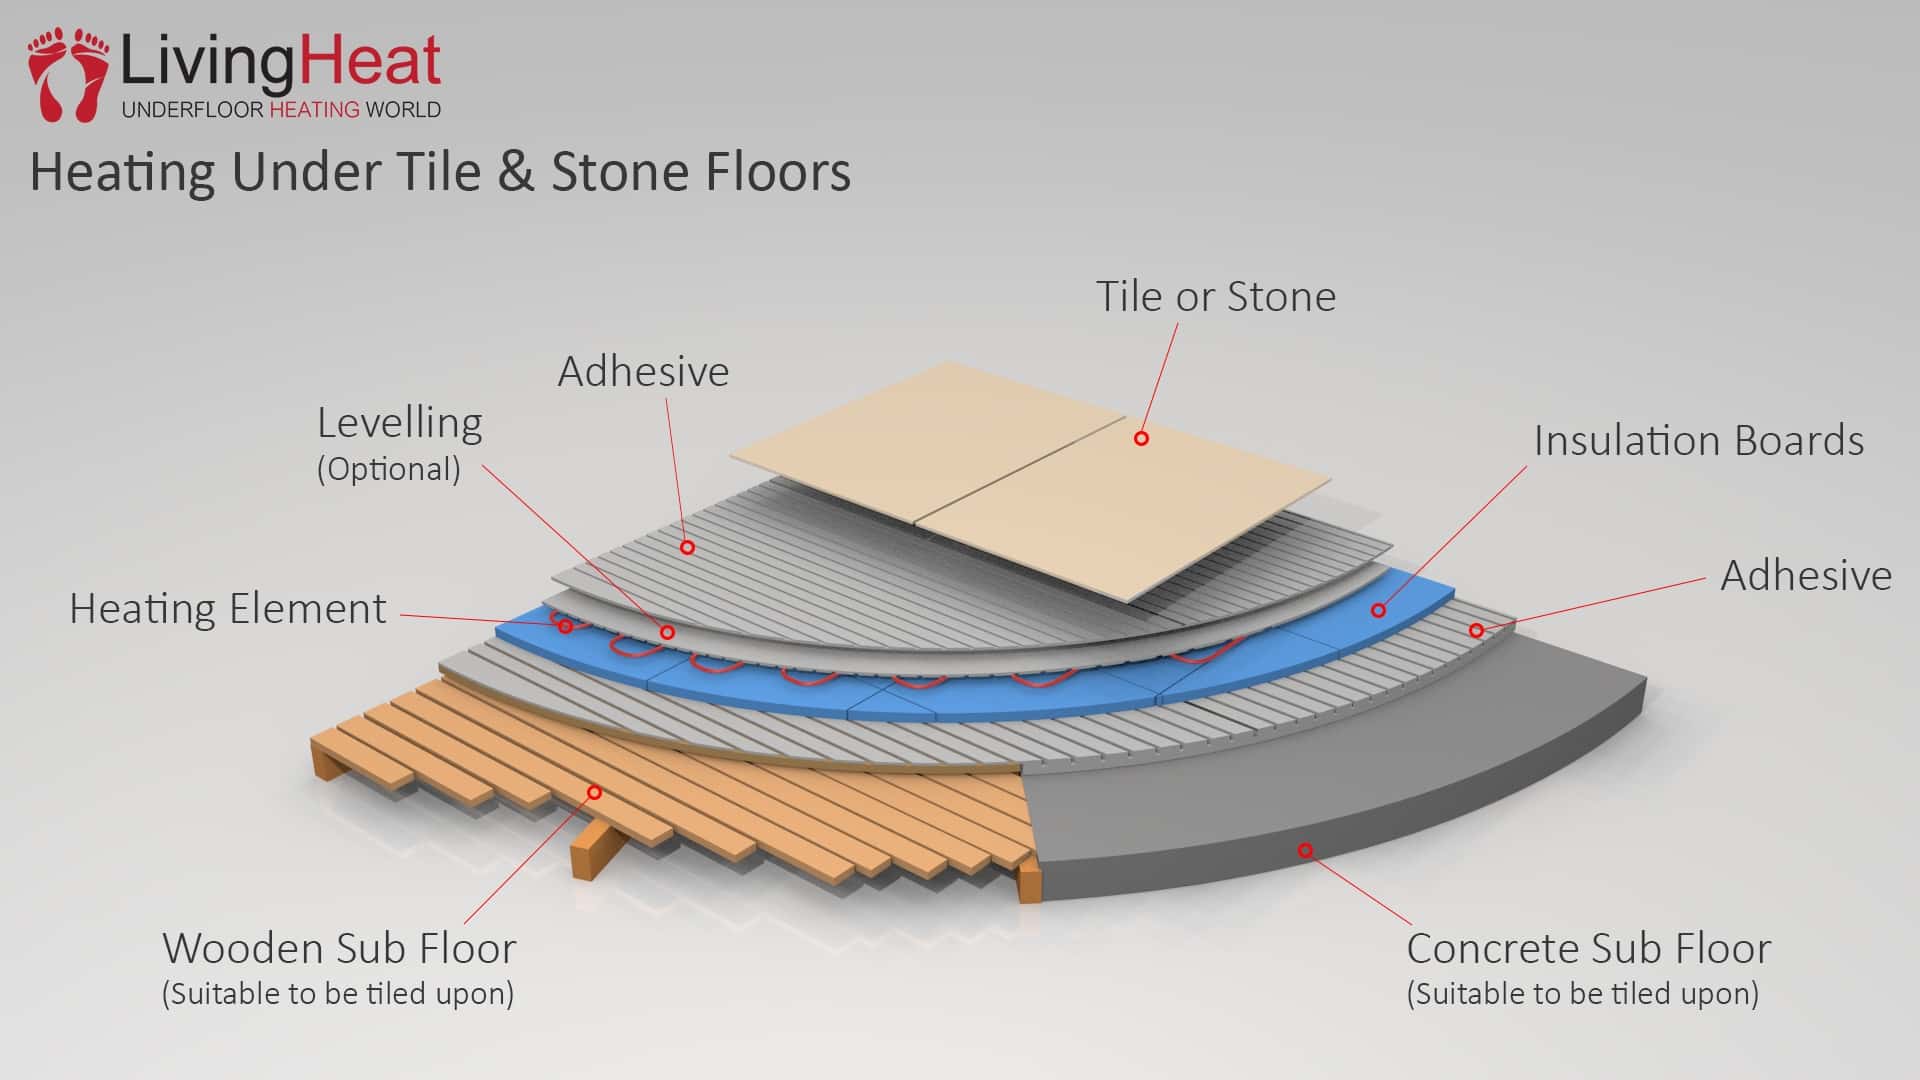
Installing Underfloor Heating Under Tiles
Date Published: . By Living Heat Ltd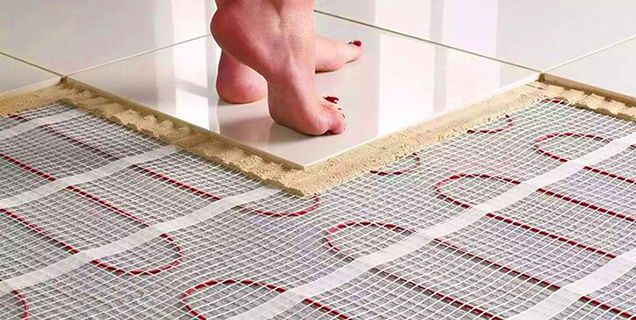
Choosing The Best UFH System For You?
When installing UFH under Tiles, we offer two type of Under-floor heating systems. In larger rooms, the 150w or 200w heat mats are the best solution. The mats are rolled out and cut and rotated to fit in the desired area. For the heating to act as a secondary or primary heat source, we recommend heating between 80-90% of the available floor area.
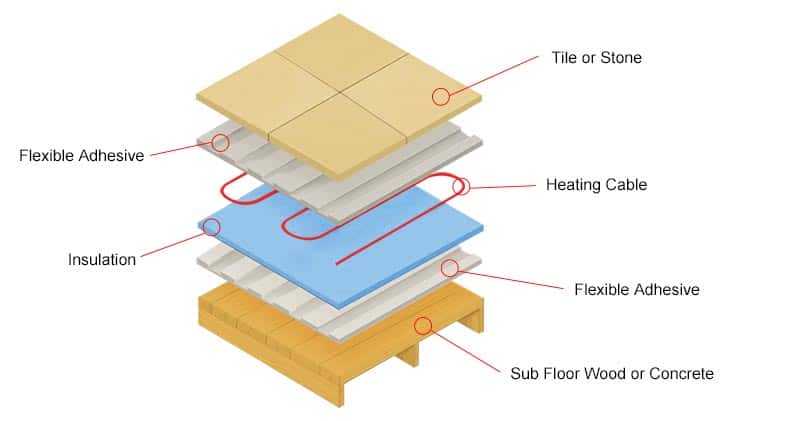
The heating should ideally be laid directly on to XPS or Cement Coated Tile Backer insulation.
The percentage of the floor covered will be determined on the dimensions of the room. Because the mats are 500mm in width, coverage is dictated on how many 500mm turns can be fitted into the area.
IMPORTANT– When selecting a heat mat system, never order 100% of the available floor, it will not fit. Allow at least a 100mm unheated border around the room, when calculating the amount of heating you require. If unsure of what is best for your project, then give our technical team at Living Heat a call.
Loose Wire Cable Options
In awkward rooms or smaller rooms like Cloakrooms or WC’s, the loose cable is the choice of most installers. Unlike heat mats, the loose cable is not attached to a mesh backing. This means the wire is very versatile and can be laid wall to wall. As with heat mats, to aid the efficiency and response of the heating, the loose cable should be laid directly on to a
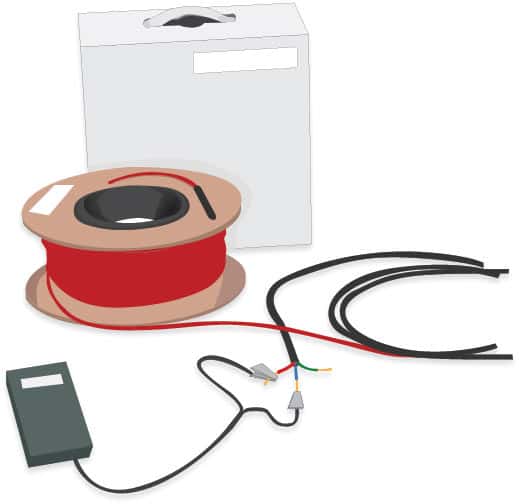
The very first step is to take a resistance reading of your mats or cables with a multimeter and write that figure down on your warranty card at the back of your instructions. What this does is say to us that the heating system was working when it was received, and can give you the confidence to install the heating mat.

Installing Underfloor Heating Under Tiles
1: The subfloor must be clean, sound and suitable for the chosen floor covering prior to laying the heating. We highly recommend the use of a suitable insulation layer over concrete subfloors. Either insulation is suitable under a tilled floor. We would recommend 10mm however if height is an issue 6mm will be sufficient. The tile backer board can be screwed down. And both boards can be stuck down with a flexible adhesive.
2: Measure the floor accurately allowing for a 100mm+ unheated border around the perimeter of the area. Once measured make sure the heating mat is a suitable size for the area. The mat size and wattage can be found on the outer box and heating mat label. The mat should also be tested for continuity and resistance at this stage. The readings should be noted down on the back warranty page of the installation manual.
NB: If the mat is incorrectly sized or the resistance readings do not match the test results on the box label, stop and return the mat for the correct size. Once the mat is unrolled it becomes the responsibility of the installer and the mat can not be returned for an alternate size.
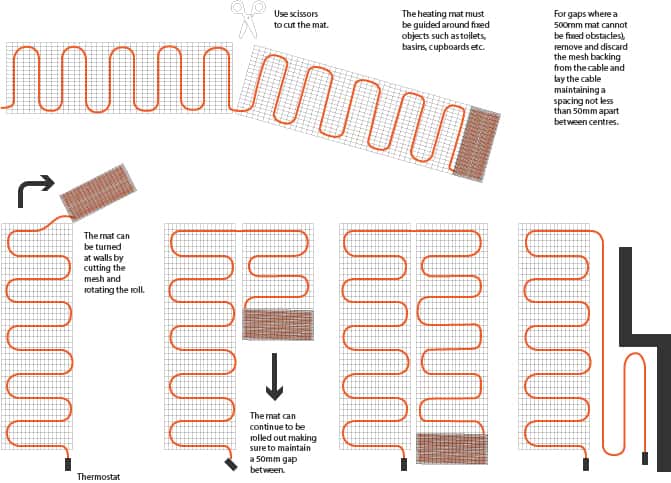
3: Start the heating close to the thermostat location if possible. If this is impractical the cold tail can be easily extended with a suitable electrical wire. Slowly unroll the mat pealing the adhesive backing tape on the mat off as you proceed. The mat must be firmly pressed onto the floor making sure the heating element is not twisted or stressed at any point. 4: To turn the mat in any direction or return it back on itself the installer can cut through the mesh backing, (DO NOT CUT THE HEATING CABLE) to allow the mat to be redirected in any direction.
4a: Alternatively if the area to be covered is an irregular shape or an obstacle has to be avoided the heating cable can be detached from the mesh backing and laid loose. This will allow the cable to be laid in any direction and a suitable fixing tape can then be used to hold the cable in position ready for the subsequent floor covering to be installed over. When laying the heating cable lose a consistent spacing between cable runs must be maintained, (the same spacing as when attached to the mesh backing) to achieve an even heat output across the floor. It is important that cables are not laid too close together. A minimum of 50mm should be maintained between cable runs. If the heating cables get too close, touch or overlap at any point the cable may overheat.
4b: With the cable, before the cable is unrolled it must be tested for continuity and resistance. Mark this reading down on the back warranty page of this manual.
4c: Using the figures worked out in stage 2, the spacing between cable runs is worked out by:
5: Divide 1000 by the length (metres) of the heating cable. 5a: Multiply result A by the size of the area you are heating in m2. The final figure is the spacing in mm the cables should be spaced out at. Please note the figure should be somewhere between 50 – 80mm. This figure is a guide required for the final spacings to achieve the best coverage. The cable must NOT be cut or reduced in length. The spacings between cables are either increased to increase the heated area, or reduced to reduce the heated area. Only the black cold/connection ends can be reduced or lengthened if required.
6: Once the heating is fitted the electrical resistance and continuity test should be repeated and noted down on the warranty page. Make sure these readings are the same as the readings noted down during stage 2. The heating should also be tested after the flooring has been fitted. There is no limit to how much the cable can be tested but to complete the warranty the heating must be tested before it is laid, after being laid and after the floor covering has been installed. All figures must be accurately recorded.
7: The floor probe supplied with the thermostat should now be fitted. The probe must be installed between 2 heating wires but no more than 30mm away from one cable. Make sure when fitting the probe no other heating or cooling sources can influence the floor probe such as hot water pipes. Once the probe is fitted a resistance check should be carried out to confirm the probe is fully functional and the readings noted down on the warranty card.
8: If multiple mats are to be installed all mats can be connected together in parallel into a suitable junction box and then one suitable spur run to the thermostat location and is left ready to be wired in.
9: The heating system must be run via a residual current device (RCD), fitted in accordance with all current electrical regulations at the time of installation. All electrical connections should be carried out by a qualified electrician.It is the installer/electrician’s responsibility to make sure the system is fitted correctly and any additional materials are suitable for use with the heating system installed.
Get in touch!
At Living Heat Ltd, we offer a personal experience. That is tailored to get you the right product at the right price.
For more information on any of our products please get in touch, we are here to help.
Call Us
Email Us
Get A Quote
Can I get a completely free, no pressure Underfloor Heating Quote? ... At Living Heat Ltd we know working out what you need can be a daunting task so let us take the pressure off.